
Bump photos, week by week
Forty weeks is one of the few timelines with its own built-in cadence — one photo a week, and the end date is already in the calendar. It is also the series people most often finish and then cannot assemble, because week 34 was taken in a different room.
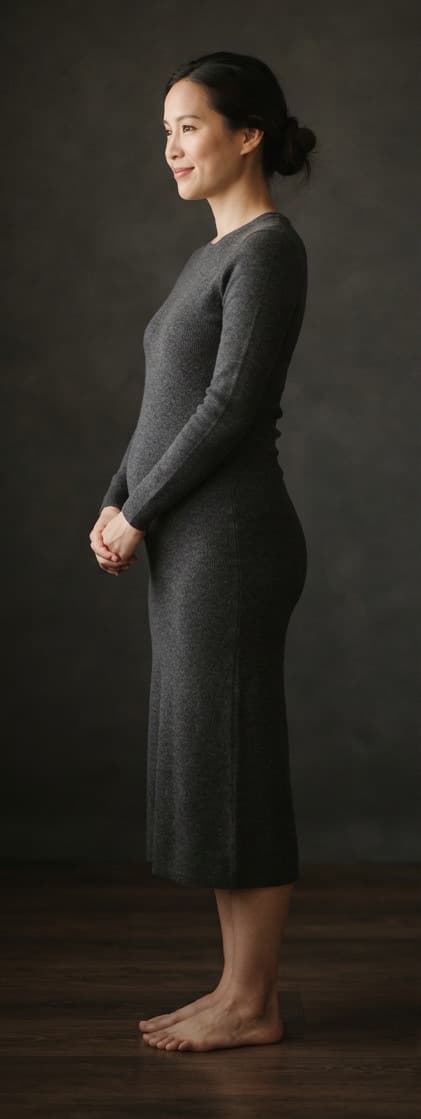
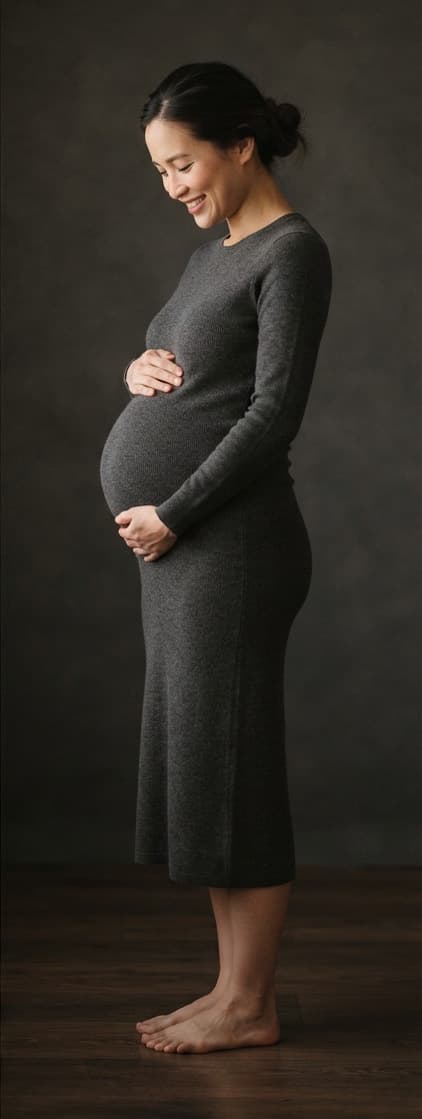
01
Decide the frame in week one, not week twenty
Pick a wall with even light and stand the same distance from it. Plain is better than pretty: a busy background makes it harder to see the only thing that is changing. Whatever you choose in the first week is what the other thirty-nine have to match, so choose something you can repeat at 38 weeks when you do not feel like it.
02
Side-on shows more than front-on
A bump changes depth far more than width. Photographed straight on, months of change read as almost nothing; photographed from the side, the same months are obvious. Most people who are disappointed by their series shot it front-on.
03
Same time of day, same clothing weight
Evening light and morning light fall differently, and a loose top hides exactly what you are documenting. Neither needs to be strict — it needs to be the same.
One reminder a week
Set it for a day and time you are reliably at home. Missing one changes nothing: the series is compared against week one, not against last week, so a gap leaves a gap rather than breaking anything.